Welcome to the ultimate guide on How to cook new york strip steak! If you’re ready to elevate your culinary skills and indulge in a mouthwatering steak experience, you’ve come to the right place. In this blog post, we’ll provide you with step-by-step instructions, practical tips, and expert techniques to ensure your New York Strip Steak is cooked to perfection. So, grab your apron, and let’s dive into the world of sizzling steaks!
Choosing the Right Cut
What is a New York strip steak?
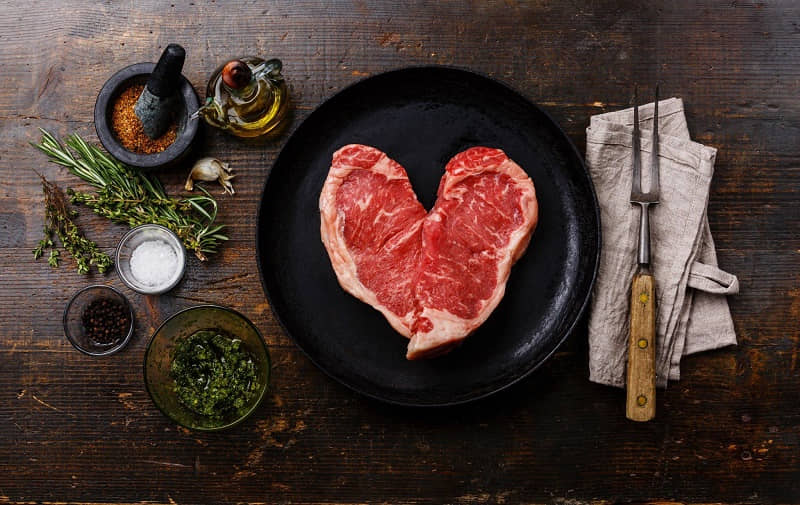
New York strip steak, also known as striploin or shell steak, is a popular and flavorful cut of beef. It comes from the short loin of the cow, which is located on the back and just behind the rib section. The New York strip steak is well-marbled, making it tender and juicy, with a rich beefy flavor.
Characteristics and flavor of New York strip steak
The New York strip steak is known for its tenderness, thanks to the marbling of fat throughout the meat. It has a fine texture and a moderate amount of fat, which enhances the flavor and juiciness. The steak has a robust beefy flavor, with hints of sweetness and a slightly nutty undertone. It is often considered one of the most flavorful cuts of steak.
How to select a good quality New York strip steak at the grocery store

When selecting a New York strip steak at the grocery store, there are a few things to keep in mind. Look for:
- Grade: There are three grades of meat – Prime, Choice, and Select. The prime grade will have the highest marbling and tenderness, making it the best choice for a top-quality steak. Choice grade is also a good option, offering a balance between marbling and price.
- Color: The steak should have a bright, red color. Avoid any steak that has a brown or grayish hue, as it indicates that the meat is not fresh.
- Marbling: Check for marbling, which refers to the streaks of fat running throughout the meat. A good New York strip steak should have visible marbling, as it adds flavor and moisture to the steak.
- Thickness: Opt for steaks that are at least 1 inch thick. Thicker steaks are easier to cook to your desired level of doneness without overcooking the center.
- Firmness: Gently press the steak with your finger. It should feel firm and spring back slightly. Avoid steaks that feel too soft or mushy, as they may not be of good quality.
Read more:
Preparing the Steak
Importance of tempering the steak before cooking
Before you start cooking, it’s important to let the New York strip steak come to room temperature. This process, known as tempering, allows the meat to cook more evenly and ensures a juicy result. Simply remove the steak from the refrigerator and let it sit for about 30 minutes before you start cooking.
Seasoning options for New York strip steaks
Seasoning your steak is crucial to enhance its natural flavor. There are several options at your disposal depending on your personal preference. Classic choices include simple salt and pepper, which provide a timeless and savory taste. You can also experiment with various dry rubs and herb mixtures to add a unique twist to your steak.
How to marinate a New York strip steak
Marinating can add an extra dimension of flavor to your New York strip steak. To marinate your steak, you need to prepare a mixture of your choice, typically made with ingredients like olive oil, vinegar, herbs, and spices. Place the steak in a shallow dish and pour the marinade over it, making sure to coat both sides.
Cover the dish and let the steak marinate in the refrigerator for at least 30 minutes, or overnight for deeper flavor. Remember to discard the leftover marinade and pat the steak dry before cooking.
Proper storage and handling of the steak
To maintain the quality of your New York strip steak, it’s important to store and handle it correctly. If you’re not planning to cook the steak immediately, store it in the refrigerator in an airtight container or wrap it tightly in plastic wrap to prevent exposure to air.
Avoid keeping the steak in the refrigerator for more than three days, as its freshness and tenderness may decrease. When handling the steak, always use clean utensils and cutting boards to minimize the risk of cross-contamination.
Additional Tips and Techniques

- Resting the steak before slicing: One important step to consider when cooking a New York strip steak is letting it rest before slicing. Resting allows the juices to redistribute throughout the meat, resulting in a more flavorful and juicy steak. After removing the steak from the heat source, cover it loosely with foil and let it rest for about 5-10 minutes. This will ensure that your steak is tender and moist when you cut into it.
- Slicing and serving techniques for optimal enjoyment: When it comes to serving your perfectly cooked New York strip steak, the way you slice and present it can make a difference in the overall dining experience. To ensure optimal enjoyment, use a sharp knife to make clean, even slices against the grain of the meat. This will help to make the steak more tender and easier to chew. Arrange the slices neatly on a plate, and consider drizzling with any accumulated juices for added flavor.
- Pairing suggestions with side dishes and sauces: To elevate the flavors of your New York strip steak, it’s important to consider the side dishes and sauces that accompany it. Some classic pairings include garlic mashed potatoes, sautéed mushrooms, roasted asparagus, or a crisp garden salad. For sauces, you can’t go wrong with a simple homemade chimichurri or a rich red wine reduction. These additions will complement the steak and add a delicious dimension to your meal.
How to Cook New York Strip Steak Perfectly

Hey there, guys! Today, let me show you the step-by-step guide to cooking a mouthwatering New York Strip steak. This prime cut of beef is known for its intermuscular fat and incredible flavor. So, let's get started!
Ingredients
- 1 prime New York Strip steak
- Coarse kosher salt
- Ground black pepper
- Garlic powder
- Olive oil (or avocado oil)
Instructions
Step 1: Pat the steak dry:
- Before you begin, make sure to pat the steak dry using paper towels.
- Remove any excess moisture to ensure a golden crispy sear.
Step 2: Season the steak:
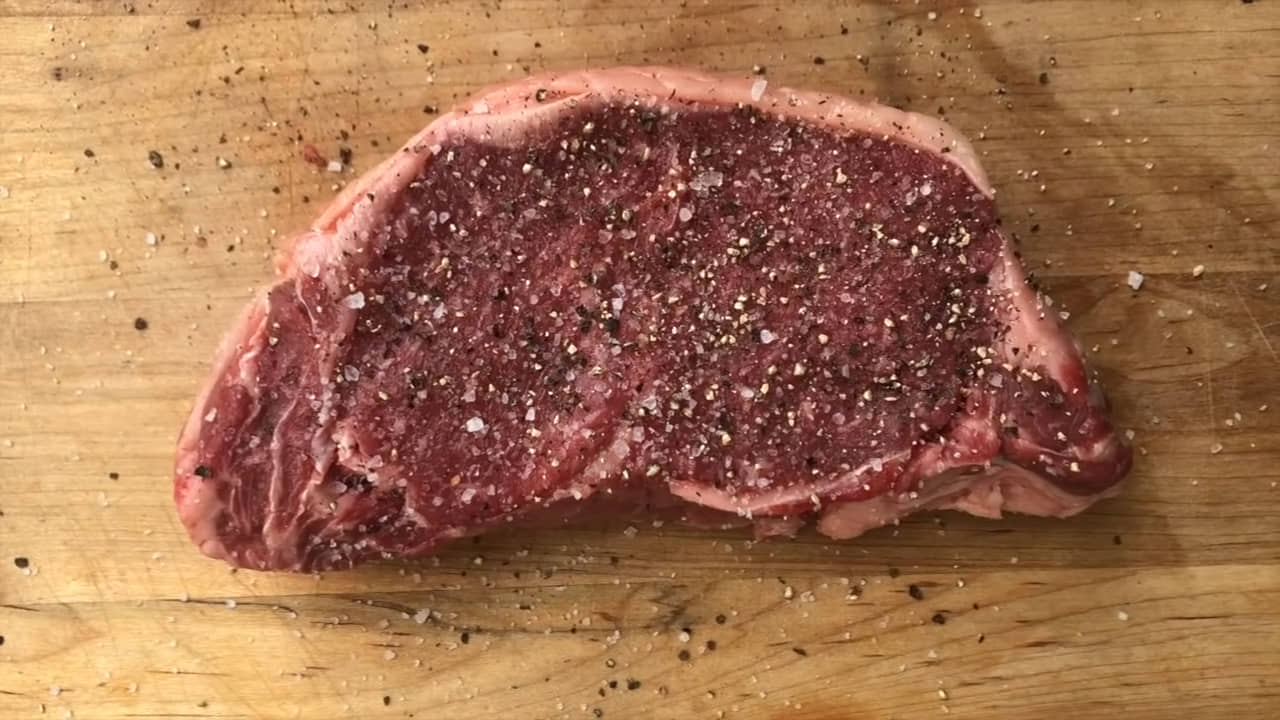
- Sprinkle a generous amount of salt on both sides of the steak.
- Add black pepper and garlic powder for additional flavor.
- Pat and rub the seasonings into the steak, allowing them to soak in.
Step 3: Heat up the grill:
- Preheat a cast iron pan over medium to high heat.
- Add enough olive oil to evenly coat the pan.
Step 4: Sear the fat cap first:
- Place the steak in the pan fat side down.
- Allow it to sear until the fat is golden brown and rendered.
- This step helps enhance the richness of the flavor.
Step 5: Sear the steak on both sides:
- Carefully flip the steak using tongs, avoiding any contact with your hands.
- Press the steak down to ensure even contact with the hot pan.
- Let it sear until you achieve a nice golden brown color on each side.
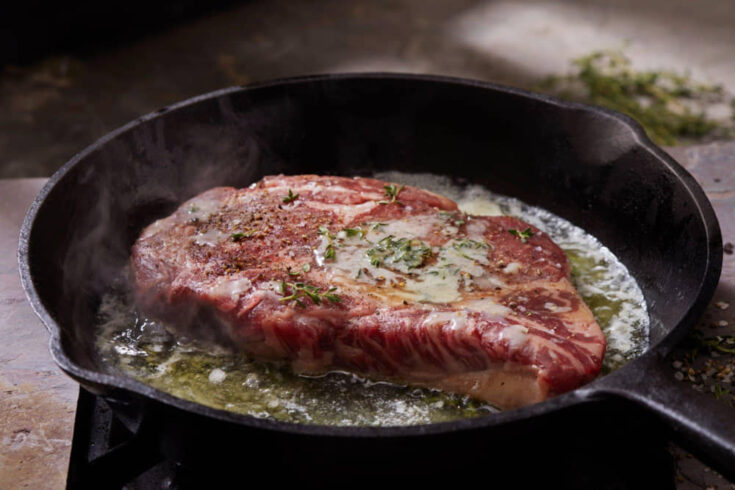
Step 6: Basting with brown butter:
- Add a tablespoon of butter to the pan.
- Tilt the pan, allowing the butter to accumulate on one side.
- Spoon the melted butter over the steak repeatedly.
- This process helps infuse the steak with added richness and flavor.
Step 7: Continue basting:
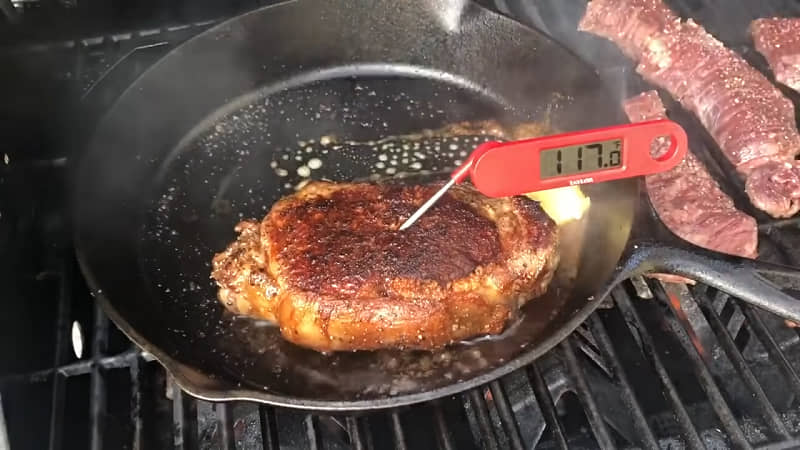
- Repeat the basting process 5-10 times, letting the steak cook to your desired temperature.
- The internal temperature for medium-rare should be around 125°F (51°C).

Step 8: Remove from heat and let it rest:
- Remove the steak from the pan and place it on a cutting board.
- Spoon some of the butter over the steak for extra juiciness.
- Cover the steak loosely with tin foil and allow it to rest for about 10 minutes.
- Resting time allows the juices to redistribute for a more tender and flavorful steak.
Step 9: Slice and serve:
- After resting, carefully slice the steak against the grain into desired portions.
- Aim for a nice pink middle for medium-rare doneness.
- Serve your perfectly cooked New York Strip steak and enjoy!

Hey readers! Chip Holland here, and I’m a Manager of this website. My passion for writing about it only matches my passion for BBQ. Follow my blog for mouth-watering recipes, tips, and tricks for the perfect smoke, grill, and BBQ. I’m sure you won’t be disappointed!
